#4 – 20133 102nd Avenue, Langley, B.C. V1M 4B4 Canada

#4 – 20133 102nd Avenue, Langley, B.C. V1M 4B4 Canada
Installing an Electrofusion Reducing Sleeve is a precise process, not a quick coupling task. The fitting joins pipes with different diameters, so preparation and alignment matter greatly. A small scrape, gap, or movement can weaken the finished connection. Plastic pipe specialist Tony Radoszewski has emphasized, “A fusion joint is only as good as the preparation behind it.” That principle guides this practical installation outline.
The article will explain how to identify the correct sleeve, confirm pipe dimensions, and inspect the fitting before work begins. It will cover cutting the pipe square, removing oxidation, cleaning the fusion zone, and marking insertion depth. Use proper tools. Avoid guesswork. The pipe should enter smoothly without forcing the sleeve. Clamps or alignment equipment can help prevent movement during heating and cooling.
The guide will also describe how to connect the electrofusion control unit, check barcode data when available, and follow the fitting manufacturer’s fusion cycle. Do not touch the prepared surfaces with bare hands. Even fingerprints can introduce contamination. After fusion, the joint must remain still during the stated cooling period. Rushing this stage is a common mistake.
Visual inspection comes next. Look for abnormal movement, damaged wires, poor insertion, or visible fitting distortion. A good appearance does not prove internal strength, so approved testing and documentation remain important. Requirements may differ under local regulations, ISO standards, ASTM guidance, or manufacturer instructions. This outline is useful, but it is not a substitute for qualified training. The process seems simple. Real work is less forgiving.
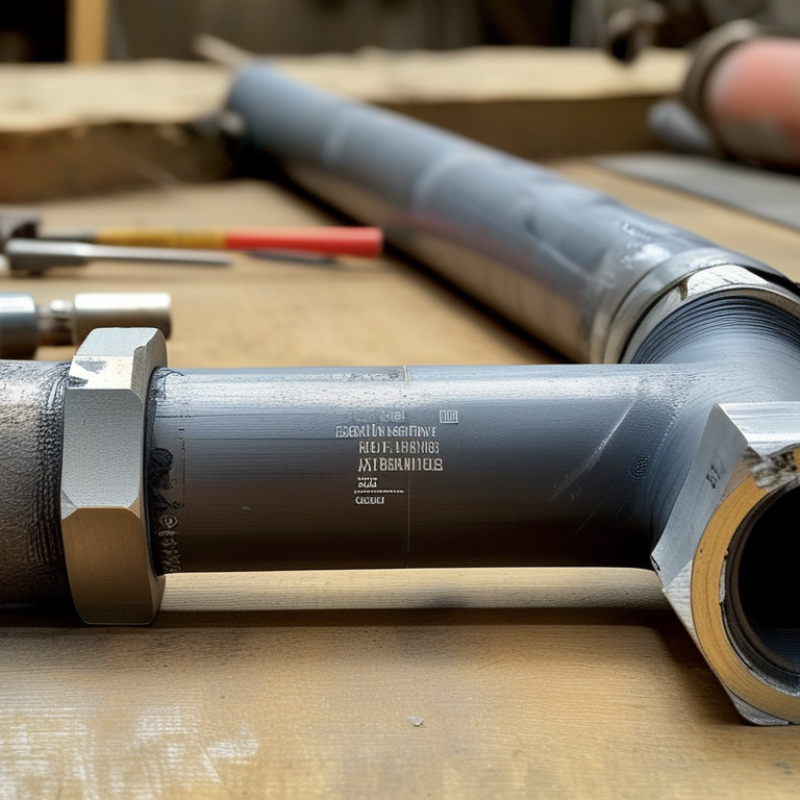
Before installation, review the reducing sleeve, pipe, and electrofusion equipment together. Confirm the sleeve matches the pipe material, outside diameters, and pressure rating. Check both pipe ends for cracks, ovality, moisture, and deep scratches. The sleeve should be clean and undamaged. Never rely on appearance alone.
Measure and mark the required insertion depth on each pipe. Cut the pipe squarely, then remove surface oxidation with a suitable scraper. Do not use abrasive paper, knives, or greasy cloths. Clean the prepared areas with an approved lint-free wipe, and keep them dry. A rushed scrape can leave untreated plastic beneath the fitting. That small error may weaken the joint. I would inspect the surface twice, even when the pipe looks ready.
Support the pipes so they remain straight and stress-free. Insert both ends into the reducing sleeve without twisting. Connect the electrofusion leads securely, then check the equipment’s calibration, voltage, and cable condition. Use the heating and cooling times specified for the sleeve. Keep the joint still during fusion and cooling. Do not spray water on it. The equipment display deserves attention, but the joint deserves more. After cooling, inspect the indicator pins, alignment, and fitting movement. Record the fusion details before pressure testing. If the sleeve shifts, the pipe is oval, or the equipment gives an unusual reading, stop and reassess the joint.
Before installing an electrofusion reducing sleeve, confirm the pipe sizes and material compatibility. Measure both pipe outside diameters with a clean caliper. Do not rely on labels alone. Small differences can affect the joint.
Cut the pipe ends squarely with a suitable pipe cutter. Remove burrs from the edges. Mark the required insertion depth on each pipe. Scrape the fusion areas evenly, removing oxidation and surface contamination. The prepared surface should look consistently dull, not shiny. Keep dust, moisture, and fingerprints away from the scraped sections. Even a small mistake matters.
Place the sleeve over the aligned pipe ends without forcing it. Check that both marks remain evenly positioned near the sleeve edges. The pipes should meet the center stop, if one is present. Use clamps or an alignment frame to prevent movement and bending. I recheck this position before connecting the fusion leads. It takes less than a minute and prevents expensive rework. In field work, a sleeve can appear straight while one pipe sits slightly high. That small error may create uneven heating. Do not correct alignment by twisting the sleeve. Remove it, inspect the surfaces, and prepare them again if necessary. The work area should remain dry, shaded, and free from vibration until the fusion cycle begins.
Fit the electrofusion reducing sleeve correctly by preparing both pipe ends carefully. Confirm the sleeve matches the pipe material, dimensions, and pressure class. ASTM F1055 covers polyethylene electrofusion fittings, while ISO 12176-2 addresses electrofusion equipment and control functions. These standards matter because a visually neat joint may still contain hidden contamination.
Cut both pipes squarely, then mark the socket depth. Remove oxidation with a clean, approved scraper. Do not sand randomly or touch the prepared surfaces with bare fingers. Insert each pipe fully into the reducing sleeve, keeping the transition centered and firmly supported. Record the fusion voltage, heating time, and cooling period. PE4710 materials can have a 1,600 psi hydrostatic design basis at 73°F, according to Plastics Pipe Institute TR-4. That figure supports material selection, not careless installation.
Tips: Keep the work area dry and shaded. Use calibrated equipment. Check the indicator melt before moving the joint. Allow complete cooling. Rushing is tempting, especially in a trench. It is also where mistakes begin. A failed alignment check can waste an otherwise good fitting. I would recheck insertion depth before every fusion, even when the sleeve appears perfectly seated. Pressure testing should follow the project specification and applicable local requirements.
An electrofusion reducing sleeve needs clean, stable pipe ends before the fusion cycle begins. Confirm pipe sizes, fitting type, and manufacturer settings. Cut both pipes squarely. Remove burrs from the edges. Scrape the marked fusion zones evenly with a suitable tool. Do not sand casually; uneven preparation can leave contamination behind. Wipe the surfaces with approved, lint-free material, then let them dry completely. Keep your hands away from prepared areas.
Dry fitting reveals problems early. Insert each pipe to the marked depth, and check that the reduction stays centered. Clamp the assembly so it cannot move during heating or cooling. Connect the fusion leads firmly, then verify that the power supply is stable. Enter the voltage, time, or fitting code exactly as specified by the manufacturer. Never guess a setting because another fitting looked similar. Start the cycle and watch for error messages, abnormal movement, or smoke. Stop if anything appears wrong.
The fitting must remain still for the full cooling period stated in the instructions. Do not twist, pressurize, or test the joint early. After cooling, inspect the indicators and pipe alignment. A clean bead is useful evidence, but it does not replace procedure records or required testing. I have learned that speed creates false confidence. One missed scrape can matter. If preparation feels rushed, pause and repeat it. Record the operator, settings, ambient conditions, and inspection result before returning the line to service.
After energizing the reducing sleeve, keep the pipe perfectly still during cooling. Do not rotate, lift, or pressure-test the assembly early. Cooling time must follow the fitting’s fusion record and installation procedure. There is no universal cooling value. Pipe diameter, wall thickness, ambient temperature, and fitting design all affect it. ASTM F1055 and ISO 21307 both emphasize controlled fusion conditions and joint verification.
Do not rush. In field work, premature movement is a common, preventable mistake. The joint may look firm outside while remaining hot inside. A 2022 UK water-sector failure review linked many polyethylene joint problems to installation control, contamination, and inadequate cooling documentation. Record the fusion time, cooling time, operator identification, and ambient conditions. These details support traceability and later maintenance decisions.
Inspect the cooled joint under good lighting. Look for uniform bead formation, axial alignment, exposed heater-wire indicators, unusual gaps, scorching, or movement marks. Check that the sleeve has not shifted from its marked position. Compare the result with the fitting manufacturer’s acceptance criteria and the project specification. If any detail appears uncertain, stop and seek qualified technical review. Reworking a doubtful connection is safer than hiding it underground. The inspection is not decorative. It protects the pressure system.
(ASTM F1055-22; ISO 21307:2017; Water Industry Research Limited, polyethylene jointing guidance, 2022)